Payment API
Payment API provides all the functionality required to manage beneficiaries and initiate payments on your user's behalf.
The Payment APIs are:
- CreateTransfer - The easiest and most efficient way to facilitate payments.
- [Not required when using CreateTransfer] Get beneficiaries - Retrieve beneficiaries from the bank account.
- [Not required when using CreateTransfer] Create Beneficiary - Create a beneficiary into the bank account.
- [Not required when using CreateTransfer] CreateTransferToExistingBeneficiary - Initiate a transfer to an existing beneficiary only.
createTransfer [Recommended]
createTransfer automatically takes care of all requirements for adding a beneficiary as well as initiating a transfer. We recommend using createTransfer to initiate a payment.
you can send money from an account to an account with a specific amount.All 3 variables are optional.
Parameters
NoteBehavior of the SDK depends on the parameters that will be set.
Parameter | Description |
|---|---|
toBeneficiary | If you are accepting a transfer into your own company's account, you don't need to set the parameter. You can simply add one in your dashboard under your app. The toBeneficiary will automatically be set to that account. |
fromAccount | Account from where the amount must be transferred. If you don't set a from account, SDK will simply display a popup screen for your user to pick the account from our UI. |
amount | Amount to be transferred. If you don't set an amount SDK will display a screen with a numpad screen for your user to enter the amount in. |
remark | A message associated with the transfer. |
How to set beneficiary details?There are multiple ways to communicate the beneficiary details to Dapi. Please follow the best approach based on your exact use case and security requirements
- Option 1: Set the beneficiary on the Dapi Dashboard.
- ⚠️ Works only for static beneficiaries. (All of the transfers will be sent to beneficiaries that you know ahead of time.)
- ✅ No configuration required on the SDK nor on the SDK Backend Server side.
- Option 2: Set the beneficiary as the
DapiBeneficiaryobject in the SDK function call
- ✅ Works for both dynamic and static beneficiaries.
- ⚠️ You should be double-checking the beneficiary details integrity in the SDK Backend Server that you set up. This is to ensure no tampering with the data on the front-end layer.
- Option 3: Set the beneficiary details only in the SDK Backend Server (in principle the same as Option 2)
- ✅ Works for both dynamic and static beneficiaries.
- ✅ You never have to expose the beneficiary details to the front-end layer.
- ✅ You want your backend to be in full control of the beneficiary details.
- ⚠️ Don't recommend for static beneficiary use cases, since it would be unnecessary additional development work on the Backend Server Side.
Example - WhentoBeneficiary Is Not Specified
Here we will pick the first account in the connection object. Remember, a bank connection might have several accounts, so the accounts object is a list. You will need to pick which account you're sending from.
let accountsResponse = await connection?.getAccounts();
await connection?.createTransfer(accountsResponse!.accounts[0], null, amount, "remark")
  .then(transferResponse => {
    console.log(`Transfer success ${transferResponse}`);
  })
  .catch(error => {
    console.log(`Transfer failed with error ${error}`);
  });
Example - WhentoBeneficiary Is Specified
We first need to create a new Object called Beneficiary. We will then need to set a few details about the bank account we're sending the money to.
let address = new DapiLineAddress('baniyas ', 'dubai', 'united arab emirates');
let beneficiary = new DapiBeneficiary(
  address,
  "0959040184901",
  "John Doe",
  "Emirates NBD Bank PJSC",
  "EBILAEAD",
  "AE140260000959040184901",
  "+0585859206",
  "AE",
  "Baniyas Road Deira PO Box 777 Dubai UAE",
  "Emirates NBD Bank PJSC",
);

let accountsResponse = await connection?.getAccounts();

await connection?.createTransfer(accountsResponse!.accounts[0], beneficiary, amount, "remark")
  .then(transferResponse => {
    console.log(`Transfer success ${transferResponse}`);
  })
  .catch(error => {
    console.log(`Transfer failed with error ${error}`);
  });
Example - WhenfromAccount Is Not Specified
await connection?.createTransfer(null , null, amount, "remark")
  .then(transferResponse => {
    console.log(`Transfer success ${transferResponse}`);
  })
  .catch(error => {
    console.log(`Transfer failed with error ${error}`);
  });
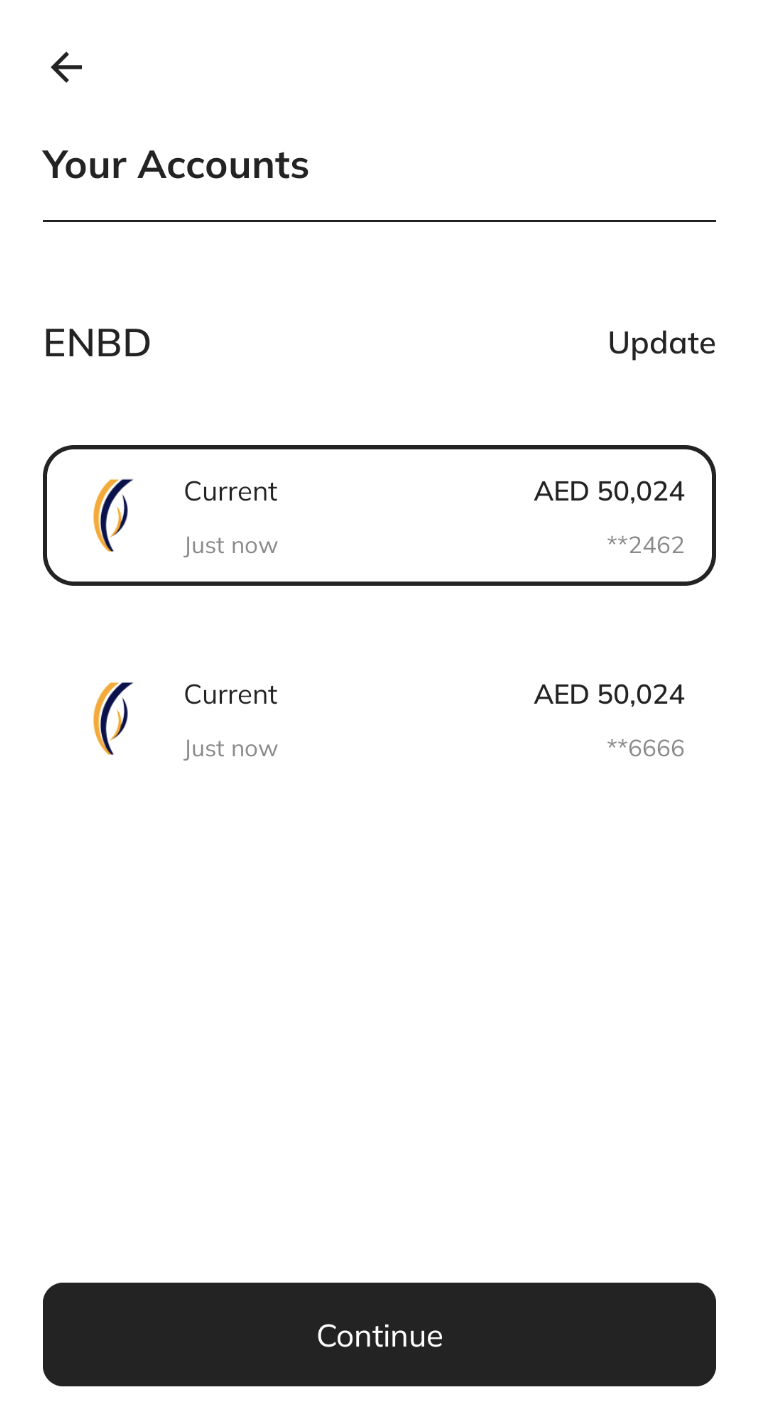
The SDK shows UI for the user to select an account to send money from

Account Selection Screen
Example - Whenamount Is Not Specified
let accountsResponse = await connection?.getAccounts();
await connection?.createTransfer(accountsResponse!.accounts[0], null, 0, "remark")
  .then(transferResponse => {
    console.log(`Transfer success ${transferResponse}`);
  })
  .catch(error => {
    console.log(`Transfer failed with error ${error}`);
  });
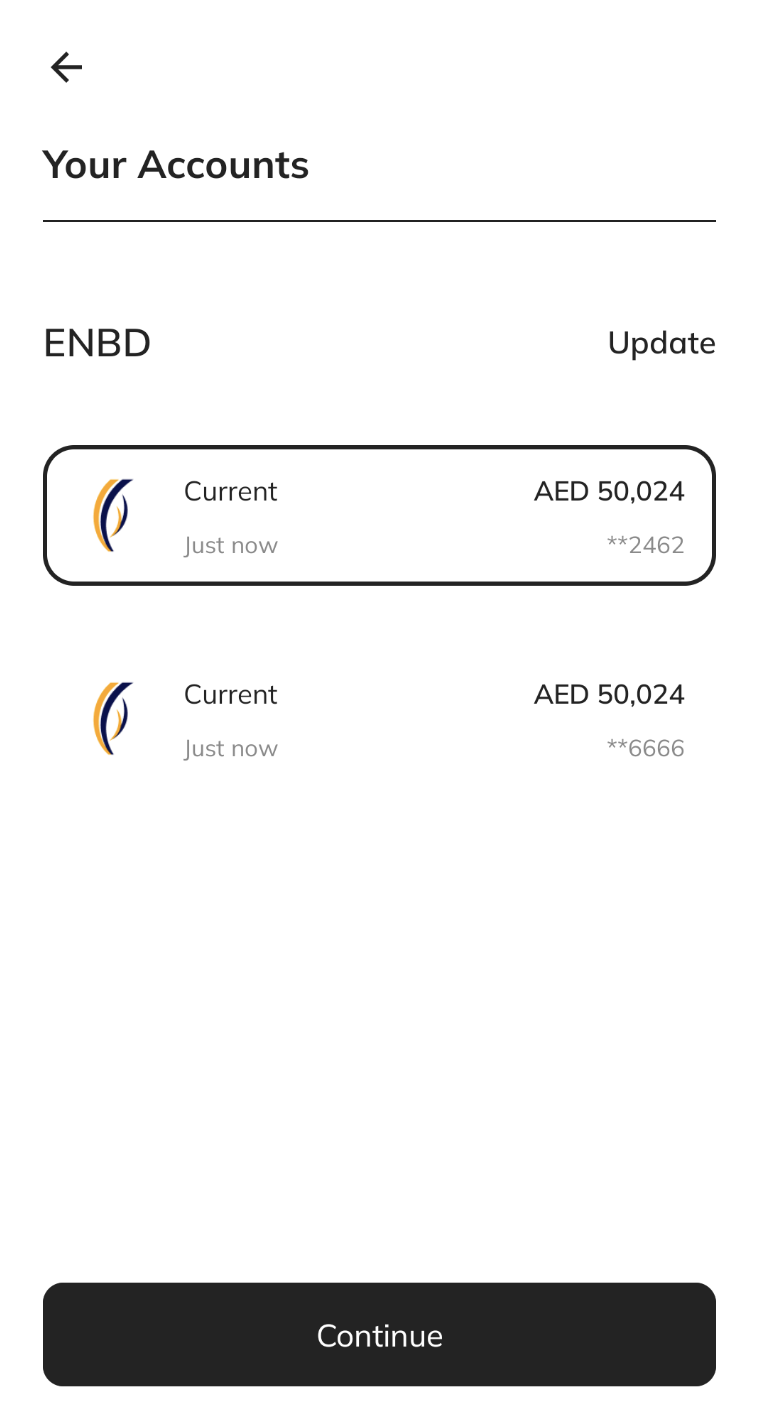
The SDK shows UI for the user to enter the amount to send

Amount Screen
Example - When nothing is specified
await connection?.createTransfer(null , null, 0, "remark")
  .then(transferResponse => {
    console.log(`Transfer success ${transferResponse}`);
  })
  .catch(error => {
    console.log(`Transfer failed with error ${error}`);
  });
}
The SDK shows UI for the user to select an account to send money from then navigate to the amount screen to enter the amount to send


createTransferToExistingBeneficiary
NoteIf you use
createTransferToExistingBeneficiaryyou have to implement bank processing logic and validations on your end. You will require the use of the following APIs to process a transaction:
- Get Account
- Create Beneficiary
- Get Beneficiaries
createTransferabstracts all these requirements. There is no need to implement bank processing logic or validations. Dapi recommends usingcreateTransferto initiate a payment.
A method for sending money to an existing beneficiary.
Parameters
| Parameter | Description |
|---|---|
| fromAccount | Account from where the amount must be transferred. |
| toBeneficiaryID | The id of the beneficiary to which the money must be transferred. Obtain by connection.getBeneficiaries() |
| amount | Amount to be transferred |
| remark | A message associated with the transfer. |
Example
let accountsResponse = await connection?.getAccounts();
await connection?.createTransferToExistingBeneficiary(
      accountsResponse!.accounts[0],
      beneficiaryID, //get from connection.getBeneficiaries() call
      amount,
      'remark',
    )
    .then(transferResponse => {
    	console.log(`Transfer success ${transferResponse}`);
  	})
  	.catch(error => {
    	console.log(`Transfer failed with error ${error}`);
  	});
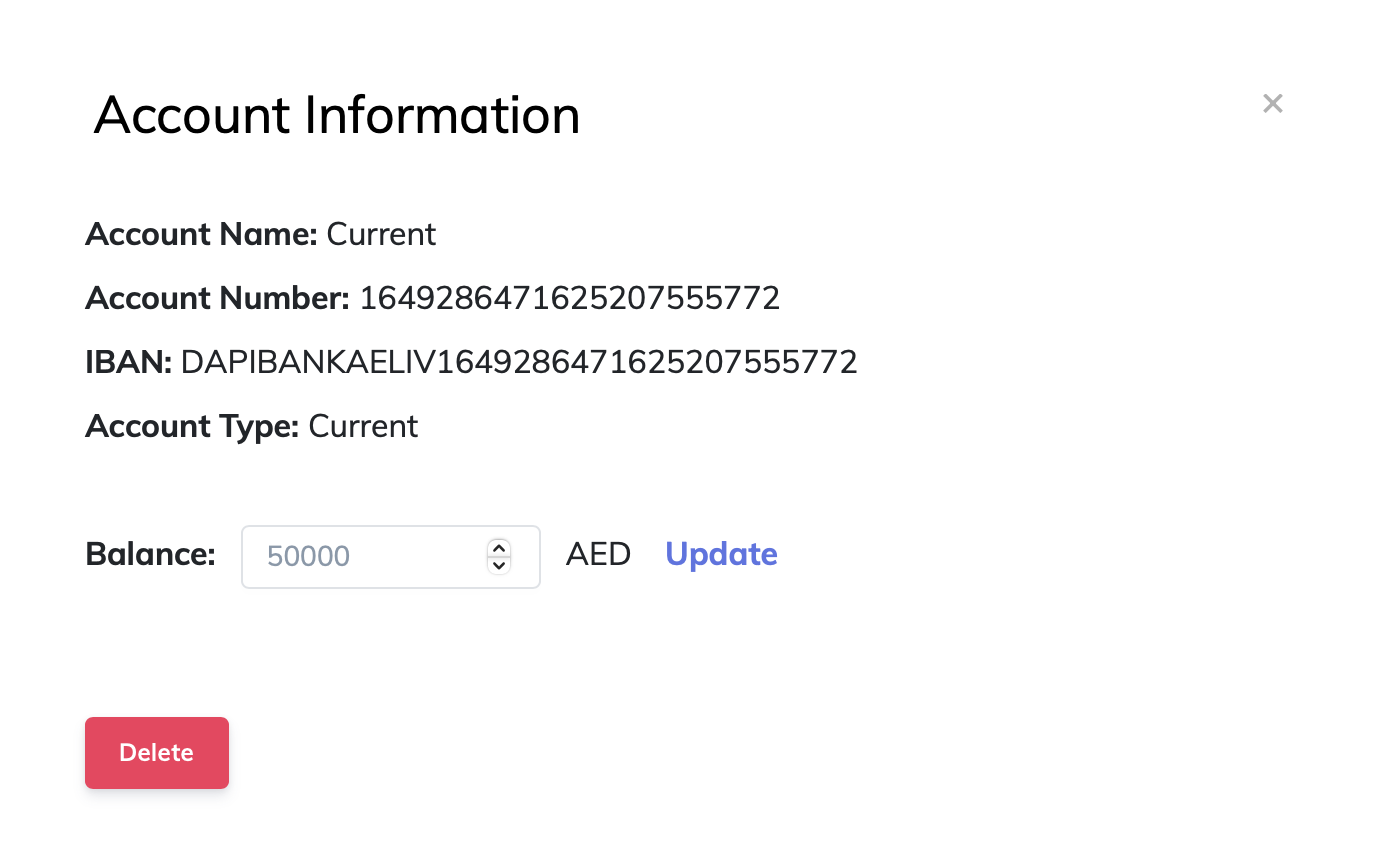
Beneficiary Not Activated error on SandboxThis error occurs If you make a transfer on Sandbox to wrong or random beneficiary details, instead you should make the beneficiary details to be of another sandbox user.
To get the beneficiary details of a sandbox user you can do the following:
1- Open your app on the dashboard and navigate to the Sandbox tab. You'll see the Sandbox Users table.
2- Click an Account from the Accounts column.
3- A dialog shows up containing beneficiary details.

Sandbox Account Beneficiary details
createBeneficiary
A method for adding a new beneficiary
Parameters
| Parameter | Description |
|---|---|
| beneficiary | Information of the beneficiary to add. |
Example
let address = new DapiLineAddress('baniyas ', 'dubai', 'united arab emirates');
let beneficiary = new DapiBeneficiary(
  address,
  "0959040184901",
  "John Doe",
  "Emirates NBD Bank PJSC",
  "EBILAEAD",
  "AE140260000959040184901",
  "+0585859206",
  "AE",
  "Baniyas Road Deira PO Box 777 Dubai UAE",
  "Emirates NBD Bank PJSC",
);

await connection?.createBeneficiary(beneficiary)
    .then(createBeneficiaryResponse => console.log(createBeneficiaryResponse))
    .catch(error => console.log(error));
getBeneficiaries
A method for obtaining registered beneficiaries
Parameters
Method does not receive any parameter.
Example
await connection?.getBeneficiaries()
  .then(beneficiaries => {
    console.log('Beneficiaries: ', beneficiaries);
  })
  .catch(error => {
    console.log('getBeneficiaries() failed with error: ', error);
  });
Response
Updated 8 months ago